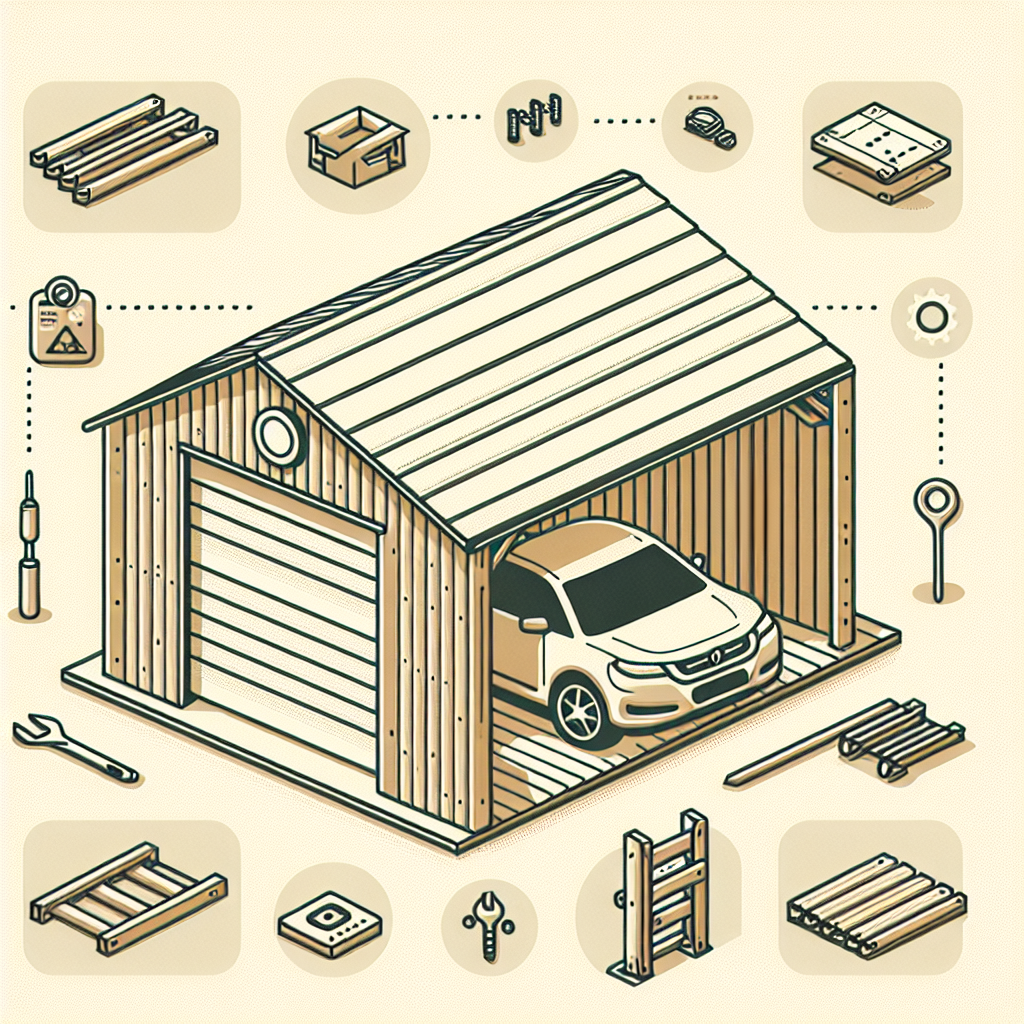
Imagine having the freedom to protect your beloved car from the scorching sun, heavy rain, or even unpredictable snowstorms. With our step-by-step guide on building your own DIY portable car garage, you can now ensure the safety of your vehicle without breaking the bank. This weekend project will not only save you money but also give you a sense of accomplishment as you create a shelter specifically designed to shield your car from the elements. So grab your tools, roll up your sleeves, and let’s get started on this exciting journey of constructing your very own portable car garage.

DIY Portable Car Garage: Your Weekend Project
Are you tired of leaving your car exposed to the elements, wishing you had a shelter to protect it from the rain, sun, and snow? Look no further! Building a DIY Portable car garage is the perfect weekend project for you. With just a few materials and some handy tools, you can create your own shelter to keep your vehicle safe and protected. In this article, we will guide you through the step-by-step process of building your own portable car garage while providing tips and tricks along the way. So put on your DIY hat and let’s get started!
Materials Needed
Before embarking on this exciting project, it’s essential to gather all the necessary materials. Here’s a list of items you’ll need to construct your portable car garage:
- Weather-resistant fabric or tarp: Choose a durable fabric that can withstand the elements.
- Steel pipes: Look for sturdy steel pipes that can support the weight of the fabric cover.
- Connectors: Connectors are vital for joining the steel pipes together and creating a solid frame.
- Anchoring system: Ensure you have an anchoring system, such as stakes or weights, to secure the structure firmly to the ground.
- Tools: You’ll require basic tools like a drill, wrench, measuring tape, and a leveler for the construction process.
- Optional upgrades: Consider investing in additional features such as doors, windows, or ventilation to enhance the functionality of your portable car garage.
Choosing the Right Location
The first step in building your portable car garage is selecting the perfect location for it. Look for a level area with enough space to accommodate your vehicle comfortably. Consider factors such as accessibility, visibility, and convenience when choosing your spot. Keep in mind any local regulations or guidelines that may dictate where you can install your portable car garage.
Determining the Size
The size of your portable car garage depends on the dimensions of your vehicle and your specific needs. Measure your car’s length, width, and height to determine the minimum dimensions required for the structure. However, it’s always a good idea to allow some extra space for easy movement around the vehicle. Consider the height of the structure as well, ensuring it is tall enough to accommodate any additional accessories on top of your car, such as roof racks.

Preparing the Ground
Once you have chosen the location and determined the size, it’s time to prepare the ground. Start by clearing any debris or vegetation from the area, ensuring a clean and level surface. Remove any rocks or uneven patches that could hinder the stability of your portable car garage. If necessary, consider leveling the ground by adding gravel or sand to create a solid foundation for the structure.
Building the Frame
Now that your ground is prepared, it’s time to start building the frame of your portable car garage. Begin by connecting the steel pipes and the connectors to create the skeletal structure. Follow the instructions provided by the manufacturer for proper assembly. Ensure that the pipes are securely connected to prevent any wobbling or instability.
Installing the Cover
With the frame in place, it’s time to install the cover for your portable car garage. Carefully drape the weather-resistant fabric or tarp over the frame, making sure it is stretched evenly. Fasten the cover securely to the frame using cords or bungee cords. Ensure that the fabric is taut and free of any wrinkles or sagging, as this will provide better protection for your vehicle.
Adding Doors and Windows
To make your portable car garage more functional, consider adding doors and windows. Doors will provide easy access to your vehicle, while windows will allow for natural light and ventilation. You can either purchase pre-made doors and windows or create your own using the same weather-resistant fabric and PVC piping used for the frame. Install the doors and windows securely, ensuring they are weatherproof and can be opened and closed with ease.
Securing the Structure
To ensure the stability of your portable car garage, it’s crucial to secure it firmly to the ground. Use an anchoring system such as stakes or weights to prevent the structure from being blown away by strong winds. Install the anchors as per the manufacturer’s instructions, ensuring they are firmly embedded in the ground. Regularly check the anchors and tighten them if necessary to maintain the integrity of your portable car garage.
Adding Ventilation
Proper ventilation is essential to keep your vehicle fresh and prevent the buildup of moisture and condensation. Consider adding vents or windows to allow air to circulate inside the portable car garage. This will help to prevent musty odors and mold growth. Ensure that the ventilation system is designed to keep rainwater out while still providing sufficient airflow.
Final Touches and Upgrades
With the basic structure of your portable car garage complete, it’s time to add the final touches and any optional upgrades. Consider installing additional features such as lighting to ensure visibility during nighttime use. You can also explore options for customizations, such as personalized branding or color choices, to add a touch of personalization to your portable car garage.
With all these steps completed, you have successfully built your very own DIY portable car garage. Now sit back, relax, and enjoy the peace of mind that comes with knowing your vehicle is protected from the harsh elements. Happy DIY-ing!


